With our Web Hosting packages you have the option to use different caching options. To use Varnish on your WordPress website, a few simple steps are required. In this article we explain these steps.
Activate Varnish
Step 1
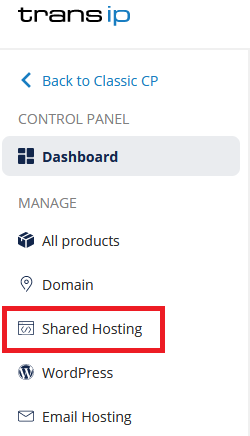
Log in to the control panel and click 'Shared Hosting' in the menu. Next, select your domain below 'Products'.

Next, click 'Advanced' at the top, followed by 'Performance & caching'.

In the 'Performance & caching' overview, click the three dots next to 'Varnish', followed by 'Manage'.

Step 2
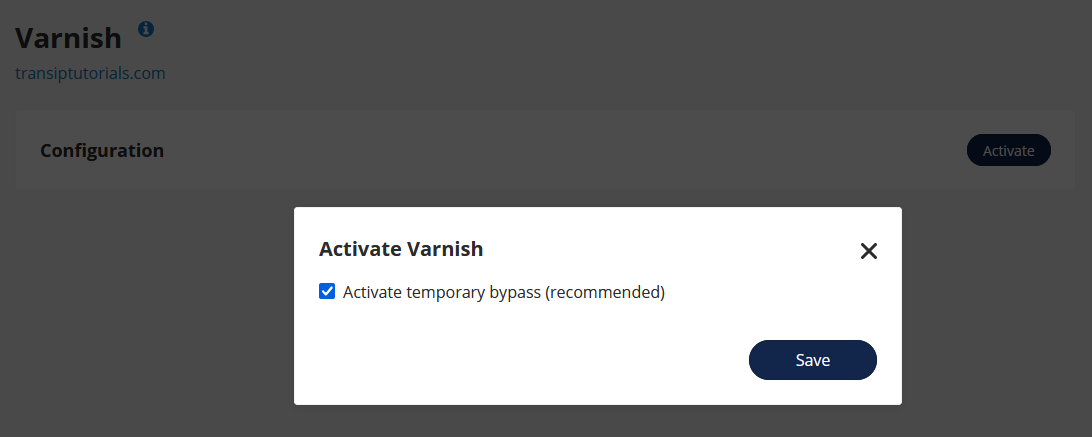
To activate Varnish, click 'Activate'. A pop-up will appear asking to activate the temporary cache bypass. By enabling the bypass, the caching is not yet active which allows you to configure varnish first. Click 'Save'.

Make sure to disable the bypass after configuration. Varnish is only active when the bypass is disabled.
As soon as Varnish is activated you will find the configuration settings in the overview.

Make sure to check that you have disabled the cache bypass in your control panel.
Should you have any questions left regarding this article, do not hesitate to contact our support department. You can reach them via the ‘Contact us’ button at the bottom of this page.


